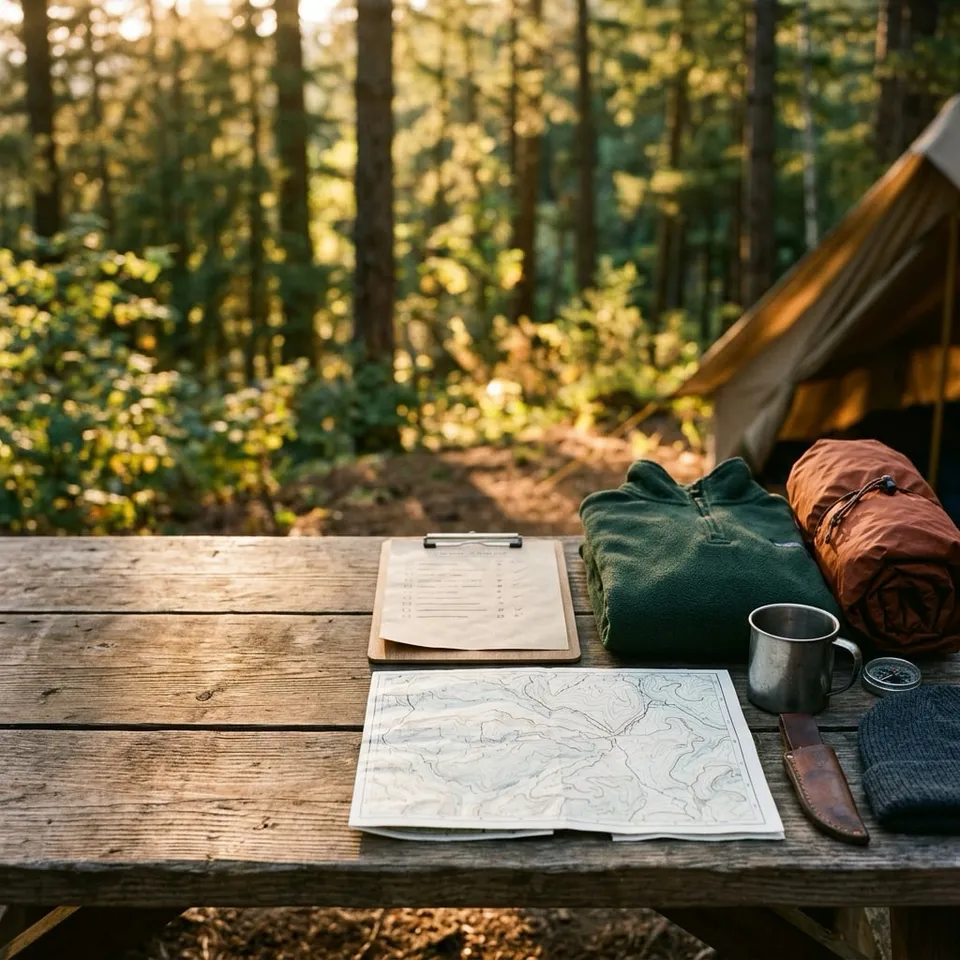
How to pack a backpack: zones, weight balance and fit adjustments
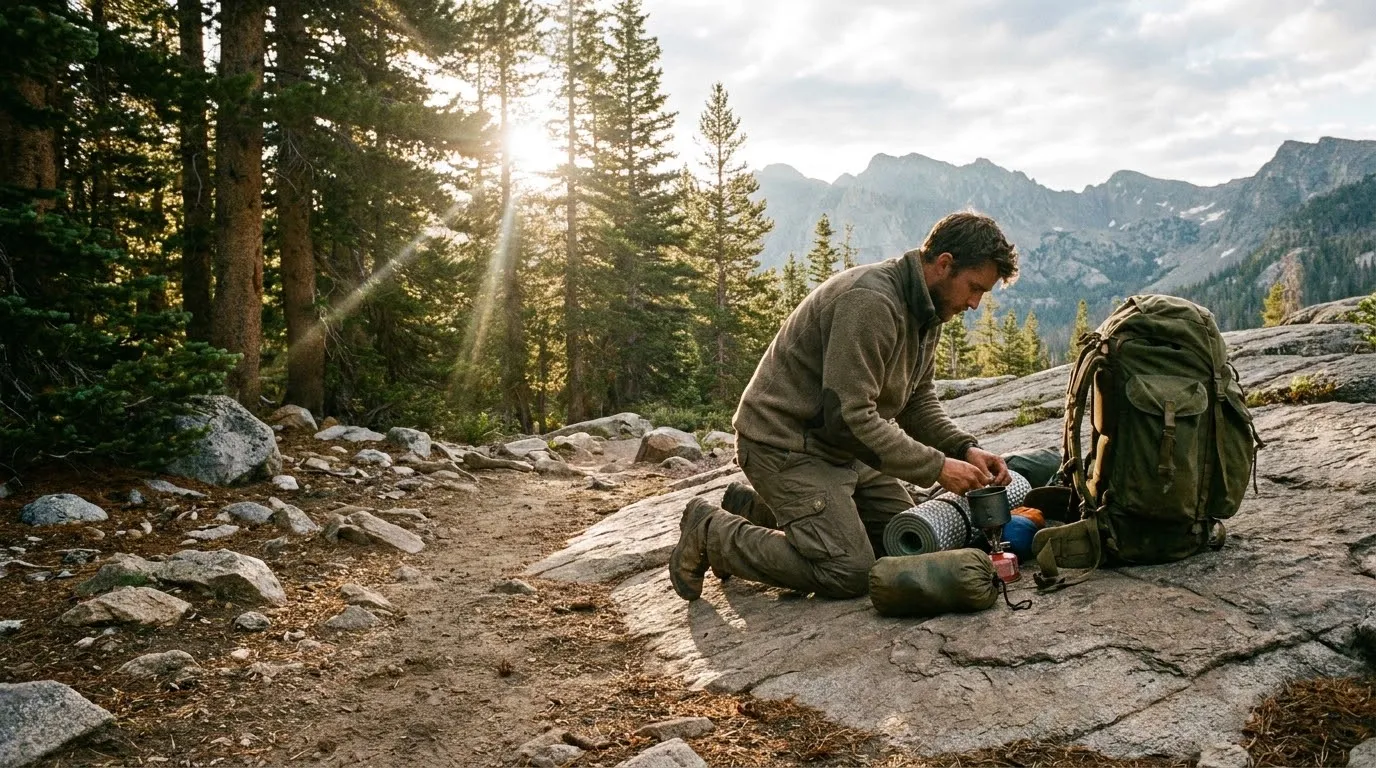
Pack a backpack by dividing gear into zones: put bulky gear you will not need until camp in the bottom zone, position denser, heavier items like food and cooking fuel in the core zone, place bulkier essentials you might need on the trail at the top, and keep urgently needed items in accessory pockets. Distributing weight close to your center of gravity prevents pack sway and allows your hips to bear the load.
On this page
Why proper backpack packing matters on trail
Carrying a heavy load into the backcountry can either feel balanced and stable or become an exhausting physical struggle. Even if you purchase high-performance hiking gear and choose an ergonomic pack, how you pack your equipment inside the main bag directly affects your comfort, posture, and energy expenditure. A haphazardly loaded backpack pulls backward against your collarbones, swings from side to side on rugged switchbacks, and forces your lower back and shoulder muscles to work overtime just to keep you upright.
The goal of proper backpack packing is simple: position the heaviest gear close to your body’s natural center of gravity while keeping essential trail items accessible without unpacking your entire shelter system. A well-organized pack moves in harmony with your body stride, protects sensitive gear from sudden rainstorms, and transfers the vast majority of pack weight down into your hips and legs where your largest muscle groups can carry it with ease.
Change Gear earns a commission when you buy through some links on this page, at no cost to you. It never decides what we recommend.
The four packing zones: what goes where
To load a pack effectively, think of the interior volume as REI does: a bottom zone, a core zone and a top zone stacked vertically, plus accessory pockets and lash-on points for the outside of the pack. Following this zonal strategy creates a stable load that does not sag or pull backward.
Bottom zone: sleeping gear and camp-only clothing
The bottom zone consists of the lowest quarter of your pack interior or a dedicated sleeping bag compartment. This area should hold lightweight, bulky gear that you will not touch until you pitch your tent at camp.
- Your sleeping bag or backpacking quilt (packed in a waterproof compression sack or stuffed loose inside an internal pack liner)
- Your sleeping pad (if an inflatable or self-inflating style that rolls down compact)
- Camp sleepwear, clean sleeping socks, and camp pillow
Packing soft, compressible items at the bottom creates a stable foundation for the rest of your gear. It also acts as an internal shock absorber that cushions your lower lumbar region against harder equipment positioned above.
Middle core zone: heavy gear close to your spine
The middle core zone sits between your lower lumbar area and the center of your shoulder blades. This is the single most critical area for weight distribution. Placing heavy items high and away from your back creates a lever arm that pulls you backward, while placing heavy items at the very bottom forces you to hunch forward to maintain balance.
According to REI loading guidelines, your heaviest items belong in this middle core zone, snug against the internal frame and back panel along your spine:
- Your food supply (packaged inside a bear canister or food bag)
- Your camp stove, cookware, and fuel canisters
- Water filtration gear and main water reservoirs or bladders
- Heavy tools or dense hardware
To keep this heavy core locked in place, surround it with lighter, malleable gear like your tent body, rainfly, extra clothing, or down jacket. Filling empty voids around dense items stops them from shifting laterally while you walk down steep descents or step across stream boulders.
Upper zone: warm layers and trail essentials
The upper zone occupies the top third of the main pack compartment, sitting directly above the heavy core. This area holds medium-weight items and gear that you might need suddenly during the hiking day:
- Weather protection, including your rain jacket and rain pants
- Insulating midlayers, such as a fleece pullover or windbreaker (see our guide on layering for hiking)
- Your first-aid kit and wilderness medical supplies
- Water treatment tablets or backup filter
Placing your rain gear and insulating layers at the top ensures you can pull them out within seconds when an afternoon squall breaks over a mountain pass, without exposing your dry sleeping bag or camp clothes to driving rain.
Exterior pockets and accessory compartments
The final tier of packing covers external storage, including top-lid zippered pockets (the pack brain), side water bottle pockets, front stretch mesh compartments, and hip belt pockets. These areas are designed for small, frequently used items that require on-the-move access:
- Side water bottles or electrolyte flasks
- Navigation tools, including a topographic map and compass
- Headlamp, trail snacks, lip balm, and sunscreen
- Lightweight trowel, sanitation kit, and hand sanitizer
- Compact packable wind shell or damp tent footprint in the exterior stretch mesh pocket
Keep items in exterior pockets lightweight. Overloading the top lid with dense equipment makes your pack top-heavy and unstable, increasing fatigue when navigating narrow ledges or rocky trails.
How to pack a bear canister inside your pack
In many national parks, wilderness management agencies require all overnight backpackers to carry an approved, hard-sided bear-resistant container. Packing a rigid cylinder like a BearVault or Garcia container can present a packing challenge if approached without a plan.
Packing food efficiently into the canister
A bear canister consumes substantial internal volume, but its interior must not become wasted space. Before loading it into your pack, optimize how you fill the container itself:
First, remove all bulky commercial packaging and cardboard boxes from your food rations, repackaging meals into thin, sealable freezer bags. Second, squeeze out excess air and pack heavy, calorie-dense foods (nuts, peanut butter, dehydrated meals) tightly into the bottom and sides of the canister. Third, place scented toiletries—including sunscreen, lip balm, toothpaste, and bug repellent—into a dedicated sealable bag and slide it into the top of the container. Where canisters are required, check the park’s own food-storage rules, such as Yosemite’s list of allowed containers, for what must go inside.
Positioning the canister against the back panel
The best way to carry a bear canister is vertically inside the main compartment, positioned flat against the pack frame in the heavy core zone.
Begin by stuffing your sleeping bag and sleeping pad into the bottom zone. This creates a level platform roughly six to eight inches deep. Next, stand the bear canister upright in the center of the pack, nestled right against the back panel. Take soft items—such as your spare socks, insulated jacket, or tent fabric—and stuff them firmly down the sides and around the front of the canister.
Packing soft gear around the cylinder wedges the rigid canister into place, preventing it from rolling, shifting, or creating uncomfortable pressure points against your spine. Never strap a loaded bear canister to the top or exterior of your pack; carrying a ten-pound rigid cylinder outside the harness destabilizes your balance and risks allowing the canister to detach on rough terrain.
Rain protection methods: liners versus pack covers
Keeping your insulation dry is essential for backcountry safety. Wet down sleeping bags and damp base layers lose their loft, greatly increasing the risk of hypothermia in cool mountain weather. Backpackers rely on two primary waterproofing strategies.
Internal pack liners and contractor trash bags
An internal pack liner is widely regarded by experienced wilderness travelers as the most dependable way to waterproof your load. A pack liner consists of a durable waterproof barrier placed inside the main compartment before any gear is loaded.
You can purchase lightweight silicone-impregnated dry bags or use an inexpensive, heavy-duty contractor trash bag (specifically 2-mil to 3-mil thickness). Insert the bag into the empty pack, open it wide, and pack your sleeping bag, clothing, and sleep system directly inside it. Once full, twist the top of the liner tightly and tuck it down before buckling the pack collar.
Internal liners offer distinct advantages over external covers: they cannot be blown off by high ridge winds, they cannot snag and rip on brush, and they stop water from seeping into the pack through the back panel harness where rain runs down your shoulders.
External rain covers and waterproof dry sacks
An external rain cover is an elasticized, coated nylon or polyester hood that wraps over the outside of your pack. While useful for preventing the pack fabric itself from soaking up water weight, rain covers leave the back harness exposed to moisture and can act like a parachute in heavy crosswinds.
A practical hybrid strategy uses an internal liner for sleeping gear and clothing, combined with individual lightweight dry sacks for sensitive electronics, your first-aid kit, and navigation tools. This multi-layered defense ensures that even during multi-day downpours, critical sleep gear remains bone dry.
How to adjust pack fit after loading
Once your backpack is loaded and compressed, adjusting the harness straps properly ensures that the majority of the pack weight rests comfortably on your hips rather than your shoulders, as REI advises. Follow this five-step sequence every time you put on a fully packed bag:
Step 1: Loosen all harness straps
Before hoisting the pack onto your back, loosen the hip belt buckle, shoulder straps, upper load lifters, and sternum strap. Loosening the harness prevents the straps from twisting or catching, allowing you to settle the pack into the correct anatomical position from scratch.
Step 2: Position and buckle the hip belt
Hoist the pack by its top haul loop, rest it on your bent knee, slide your arms through the shoulder straps, and let the pack settle. Buckle the padded hip belt across your waist.
According to REI’s pack fitting instructions, the center seam of the padded hip belt should align directly over the top ridge of your hip bones (the iliac crest). Tighten the hip belt webbing forward until snug. Your pelvic structure is built to carry heavy loads, and a correctly seated belt supports the majority of the pack weight without sliding down.
Step 3: Snug the shoulder straps
Pull the shoulder strap adjustment tails downward and slightly backward until the padded harness hugs the curve of your shoulders. The shoulder straps should wrap smoothly over your collarbones without leaving large air gaps.
Avoid overtightening the shoulder straps. If you feel pressure pressing down on your collarbones or pulling your neck, you have tightened them too much. The harness should gently stabilize the load against your back while your hips support the weight.
Step 4: Angle the load lifters to 45 degrees
Load lifters are the small webbing straps connecting the top of the shoulder harness to the upper pack frame. Reach behind your shoulders and pull the load-lifter straps forward until snug.
When adjusted correctly, load lifters angle backward toward the pack at approximately a 45-degree angle. This tension pulls the top of the pack in close to your upper spine, eliminating backward leverage and shifting the pack’s center of gravity forward over your feet. Do not over-crank load lifters to the point where they lift the shoulder harness off your shoulders.
Step 5: Fasten the sternum strap
Clip the sternum strap across your breastbone, roughly one inch below your collarbones. Cinch the strap just enough to keep the shoulder straps from sliding outward off your shoulders as your arms swing, leaving enough slack to breathe comfortably.
Finally, check each adjustment again with the loaded pack and fine-tune the straps to relieve any pressure points. To see how dynamic frames and hipbelt flex panels balance trail loads, read our Osprey Exos vs Gregory Focal comparison. For a complete inventory of required wilderness equipment, review our backpacking checklist and interactive packing list tool.
Common backpack packing mistakes to avoid
Avoiding a few common packing errors will prevent unnecessary discomfort and gear wear on the trail:
- Packing heavy gear at the top or outside: Storing heavy items high makes the pack sway on every step, forcing your stabilizing core muscles to fatigue prematurely.
- Loose, dangling gear: Strapping camp mugs, sandals, or sleeping pads loosely to exterior loops creates annoying trail clatter, snags on low branches, and destabilizes balance.
- Ignoring empty spaces: Failing to stuff socks, bandanas, or rain flies into small gaps inside the pack leads to an oversized, loose load that shifts constantly.
- Skipping compression straps: Always cinch your pack’s side and vertical compression straps after loading. Compressing the volume locks all interior gear into a single, cohesive unit that mirrors your natural movements.
Frequently asked questions
Where should the heaviest items go in a backpack?
The heaviest items—such as your food bag, water reserves, bear canister, and cooking stove—should sit in the middle core of the pack, positioned directly against the back panel along your spine. Storing heavy items close to your center of gravity prevents the pack from pulling backward away from your shoulders, maintaining natural posture and balance on steep or uneven trail terrain.
How do you pack a bear canister inside a backpack?
Place your sleeping bag at the very bottom of the pack to establish a stable base, then slide the bear canister in vertically or horizontally right against the back panel. Pack clothing, extra layers, or your tent body around the smooth exterior of the canister to hold it securely in place and prevent hard edges from shifting or jabbing against your back while hiking.
Is a pack liner better than an external rain cover?
Yes, an internal pack liner—such as a heavy-duty trash compactor bag or waterproof dry sack—is generally more reliable than an external rain cover. Rain covers can blow loose in heavy alpine winds and allow rainwater to soak down the back panel harness between your body and the pack. An internal liner guarantees that your sleeping bag, dry clothes, and electronics stay completely dry inside the main compartment.
How should you adjust your backpack straps after putting it on?
Start by loosening all straps before hoisting the pack. Fasten and tighten the padded hip belt first so it straddles your iliac crest, so the majority of the load rests on your hips. Next, pull down on the shoulder straps until snug against your torso, tighten the load lifters to roughly a 45-degree angle to pull the top forward, and buckle the sternum strap across your chest.
What should never go on the outside of a backpack?
Heavy gear, bear canisters, and loose items should never hang from exterior daisy chains or lash loops. Gear strapped to the pack exterior swings with your momentum, throwing off your balance on rocky trails or water crossings. Exterior gear is also vulnerable to snagging on overhanging tree branches, ripping, or dropping undetected along trail corridors. Reserve exterior pockets strictly for lightweight essentials like water bottles, maps, and rain jackets.
Why do my shoulders hurt when carrying a backpack?
Shoulder pain usually indicates that your pack's hip belt is sitting incorrectly or the shoulder straps are overtightened, forcing your upper body to bear weight that belongs on your hips. Ensure your hip belt sits directly over your hip bones, loosen the shoulder straps slightly, and check that your torso length matches the pack frame. In a properly fitted pack, most of the load rests on your hips.